Before you begin
- Ensure you have access to ChromeInventory. If you don't see ChromeInventory in your available Elda (Chrome) shortcuts, you may need to request access to it. Please see our article on how to Request access to an Elda Application.
Steps to Follow
- Click on the Sundry Planning button and all site's sundry planning stock is displayed.
- Site name
- Items (product)
- Stock on hand
- Qty unposted - Pending invoices yet to posted.
- Qty order
- ROP - reorder point (minimum order)
- order level
- Schedule < 7 - Items need less than 7 days to deliver
- Schedule 7-14 - Item needs 7 - 14 days to deliver
- Schedule > 14 - Item needs more than 14 days to deliver.
- Qty required.
- PO order
- Last supplier name.
- minimum order
- consignment on hand
2. To create a PO - Please untick the Show overstocked item and Show 0 ROP and Tick Show 0 scheduled items. Select the last supplier column.
3. Highlight the same supplier rows and right click on to create a PO.
4. A new purchase order window pop up and first press save button at the bottom of the window.
5. A new batch is created.
6. Here we get the information about who created a purchase order batch, their date and time and batch number.
7. We can get the Auto log information as below.
8. We can change the qty and site name as per our requirement.
9. Click on the Commit batch button.
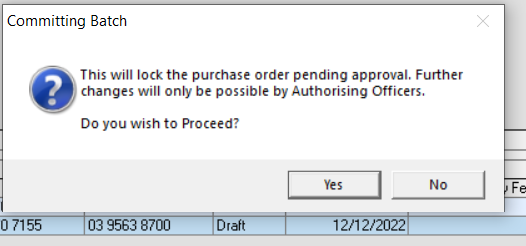
10. Pop up window open for authorisation to commit the batch and press "Yes".
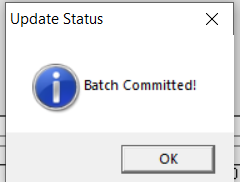
11. Batch committed window pop up. Press OK.
12. Now we can see one batch with two PO is created. one for Truganina site and other for Somerton site.
13. Auto is updated as we proceed one by one.
14. To approve the batch, press Approve Batch button.
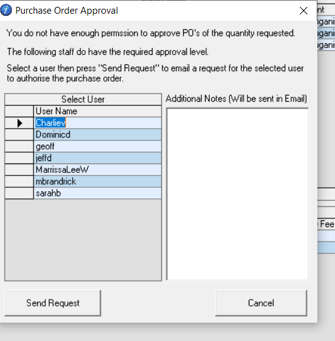
15. Purchase order approval window open and select your manager or authorized person to approve the order and you can write notes as well. It goes to your mangers via email to authorize the PO and press send request button.
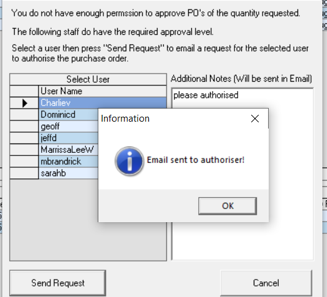
16. Email sent pop up window open. Press OK.
17. We can access the purchase order batches by below icon.
18. Once approved, press the Integrate button to integrated the purchase order batch.
19. Please Note: - After committing the order, order is in draft state, and it should go to accounting / purchase dept to convert into "purchase order" and they will send to their relevant supplier.
20. We can add venders name in the Vender delay list. e.g. add vender in 7-14 days and above 14 days by the entering the vender / supplier's name.
21. We can access the history of any product by searching date wise and by created person.
22. New pop-up window opens.
23. We can setup vendor/supplier pricing as well.
24. New pop-up window opens.


Reema Reema
Comments