Background
Unlike in devices running on Windows operating system where we typically run a PowerShell script to configure a VPN connection on a user's computer, MacOS devices would require manual setup. This article provides the steps to do so.
Before you begin
- You have Microsoft authenticator setup. See How to Set Up Microsoft Authenticator if you need guidance in setting one up.
- You have the VPN connection details handy.
Steps to follow
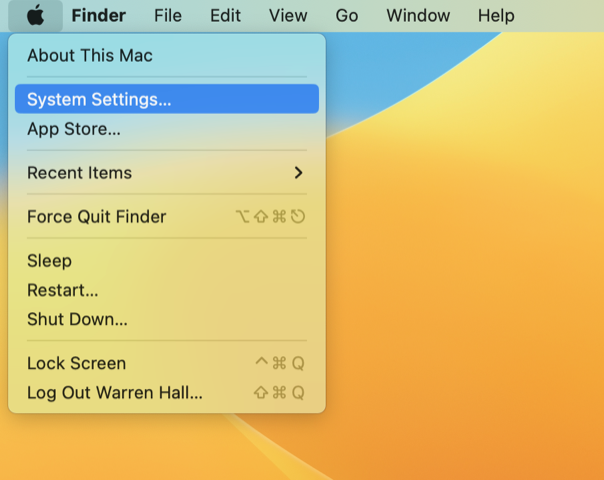
- Choose Apple menu then select System Settings.
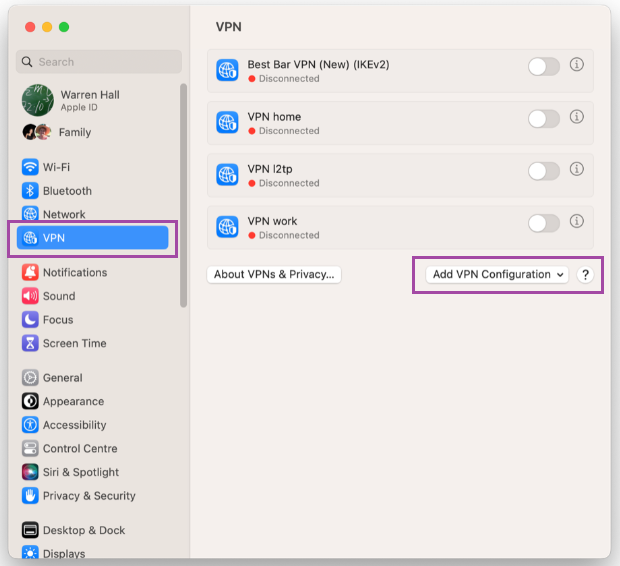
- Click VPN in the sidebar. Then select Add VPN Configurator.
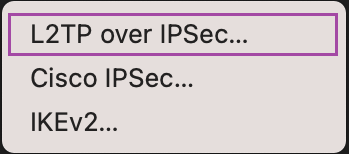
- Select L2TP over IPSec...
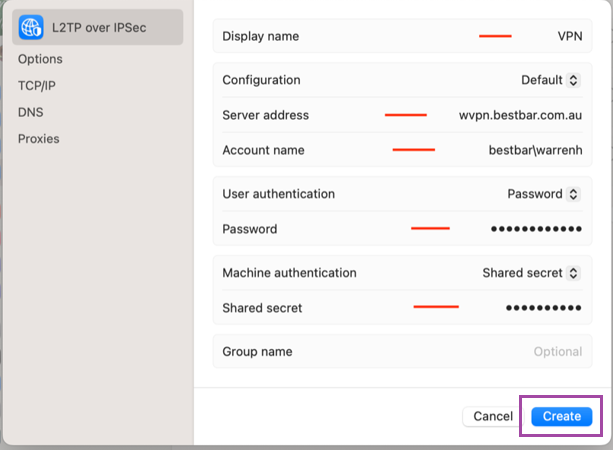
- Fill out the form then click on Create.
VPN is the descriptive name of the connection (e.g., Bestbar VPN (L2TP))
Server for L2TP is l2vpn.bestbar.com.au [http://l2vpn.bestbar.com.au]
Username is domain\username (e.g., bestbar\warrenh) note the slash is backslash.
Password belongs to the username.
Scared secret is in the email from Tinus.
The VPN connection is now ready for use.
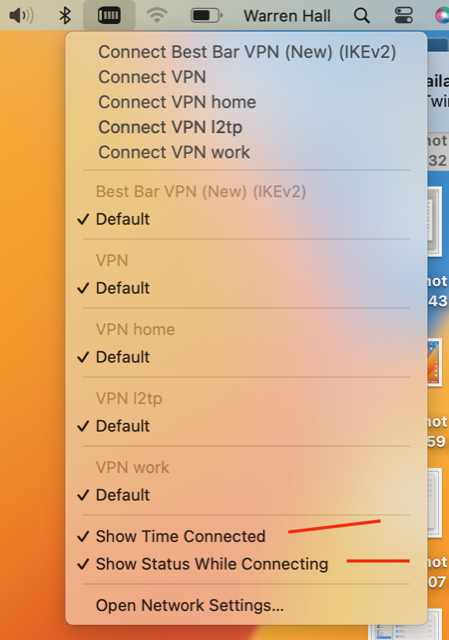
A display pointer: Tick these two options for better visibility of the VPN connection's status.
To test and use the VPN connection
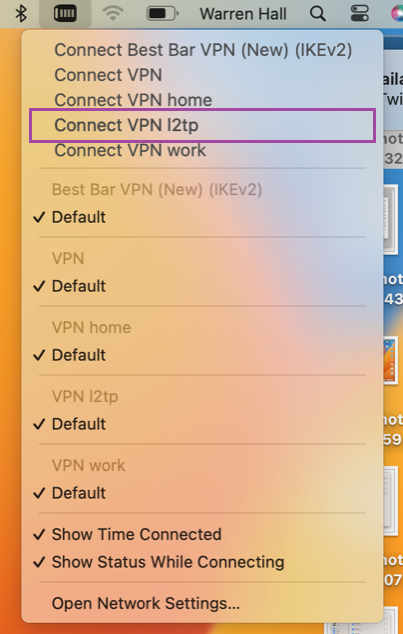
- Click the VPN icon in the menu bar.
- Select the L2TP VPN. Look for the notification in Authenticator app and approve the sign-in request.
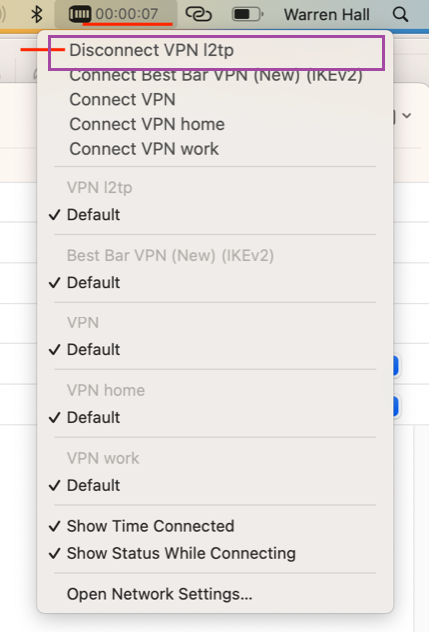
- This is what it looks from the menu bar once the VPN is connected.
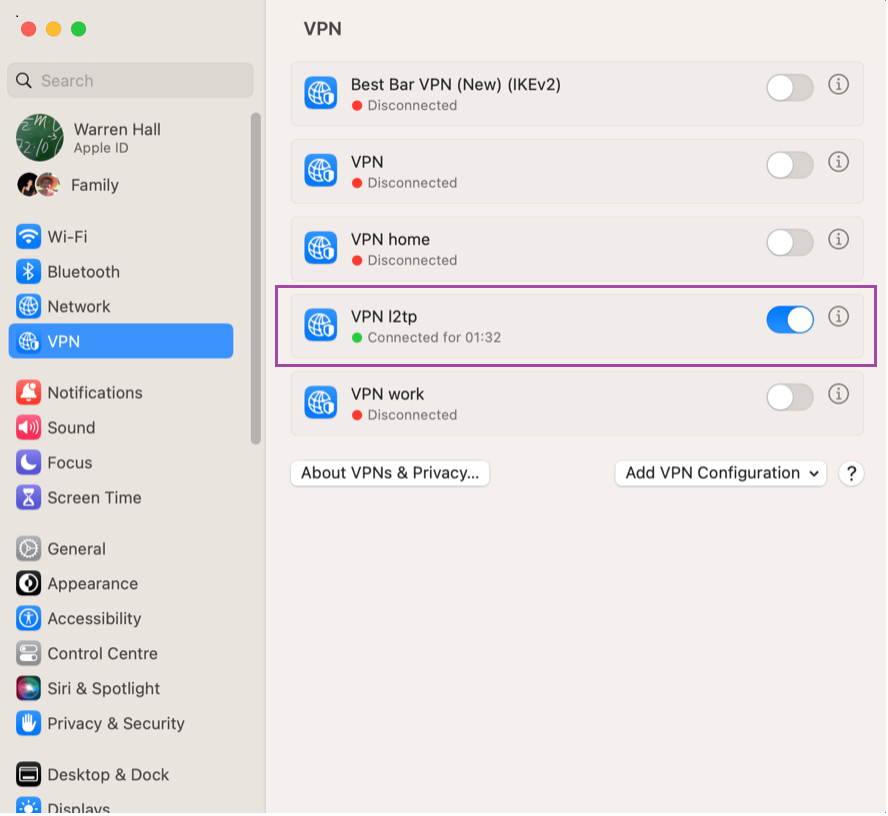
And here’s how it looks in System Preferences/System Settings.
Some more Mac things...
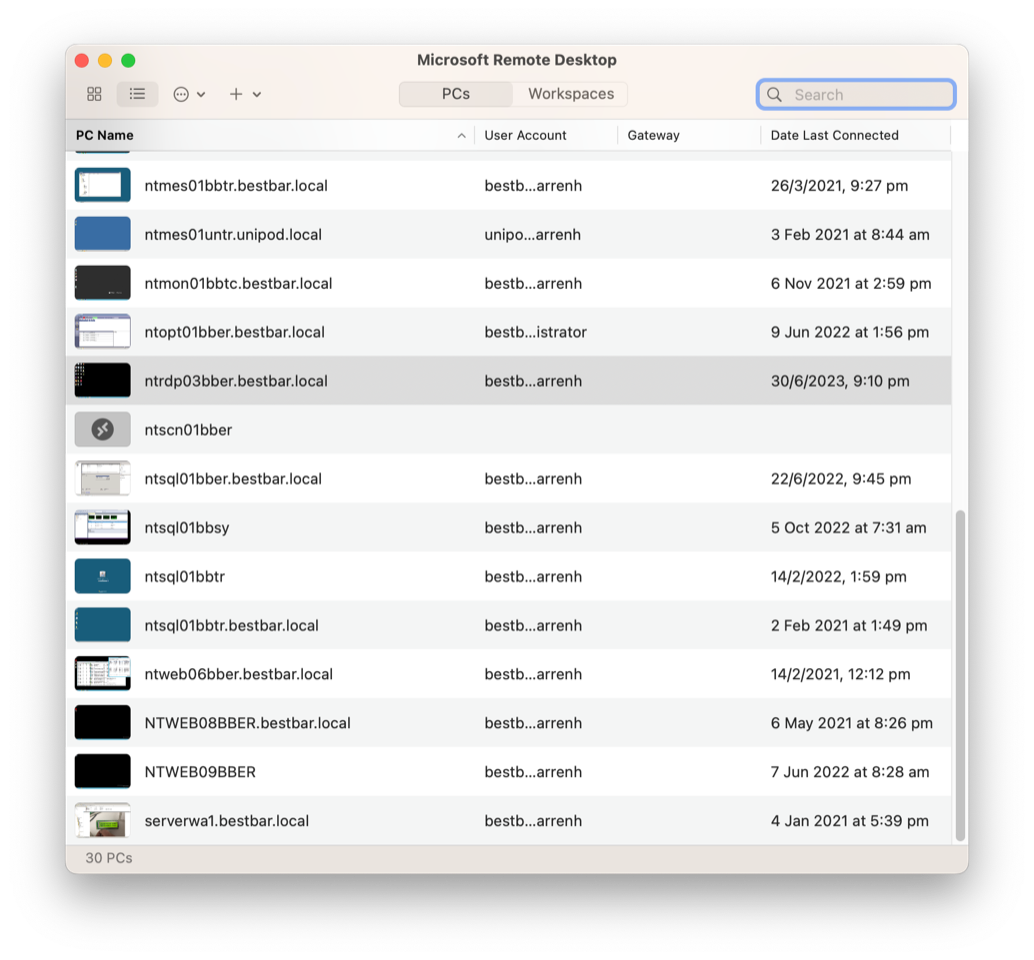
Remote Desktop is made by Microsoft and is available from the Mac OS App Store (Apple > App Store).
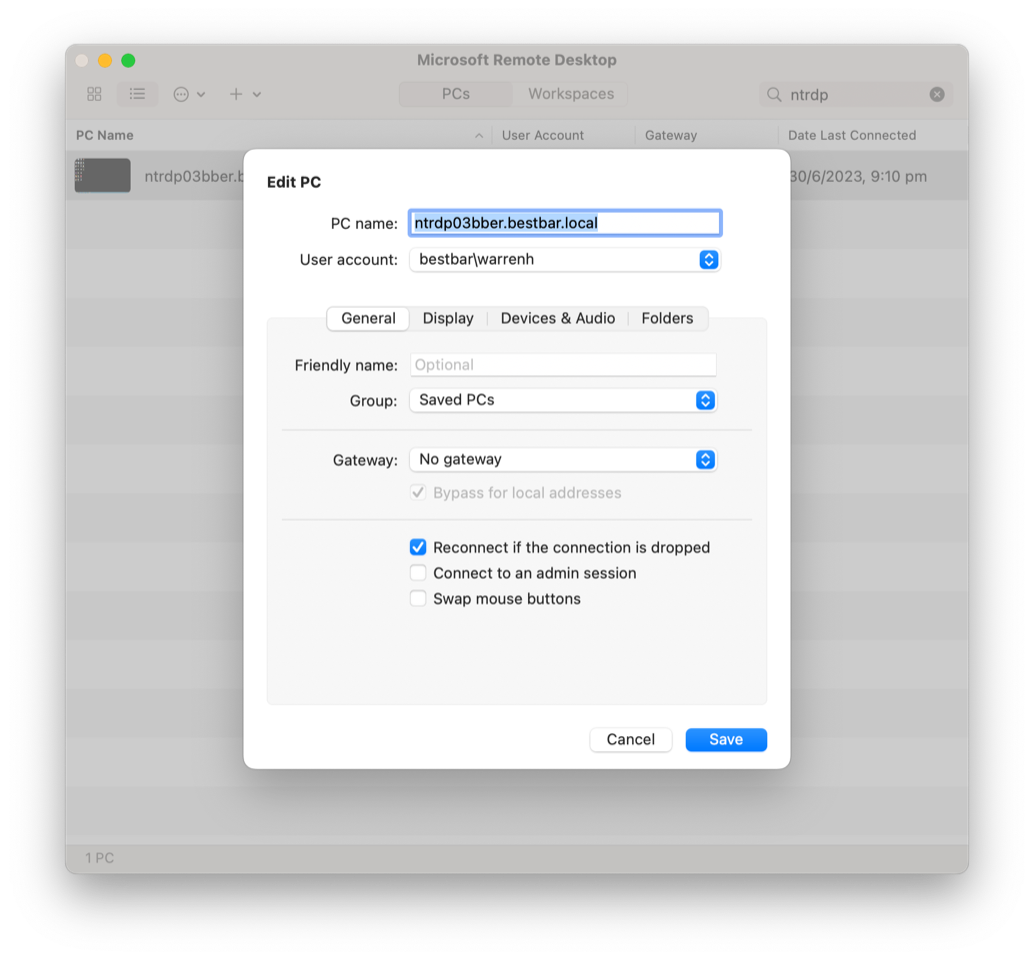
Here’s the setup for one of our servers: ntrdp03bber.
Suranga Tennakoon
Comments