Background
The Insert function currently works only on rebar items. The Delete function, however, applies to all product types.
Before you begin
- Ensure you have access to Scheduler. If you don't see Scheduler in your available Elda (Chrome) shortcuts, you may need to request access to it. Please see our article on how to Request access to an Elda Application.
- Ensure you have a schedule opened.
Steps to follow
-
Inserting a rebar item
- Select and then right-click on the row in which to insert an item.
If the row belongs to an Element, you will have two options: Insert row and Insert to element.
Otherwise, you will only have Insert row as an option.
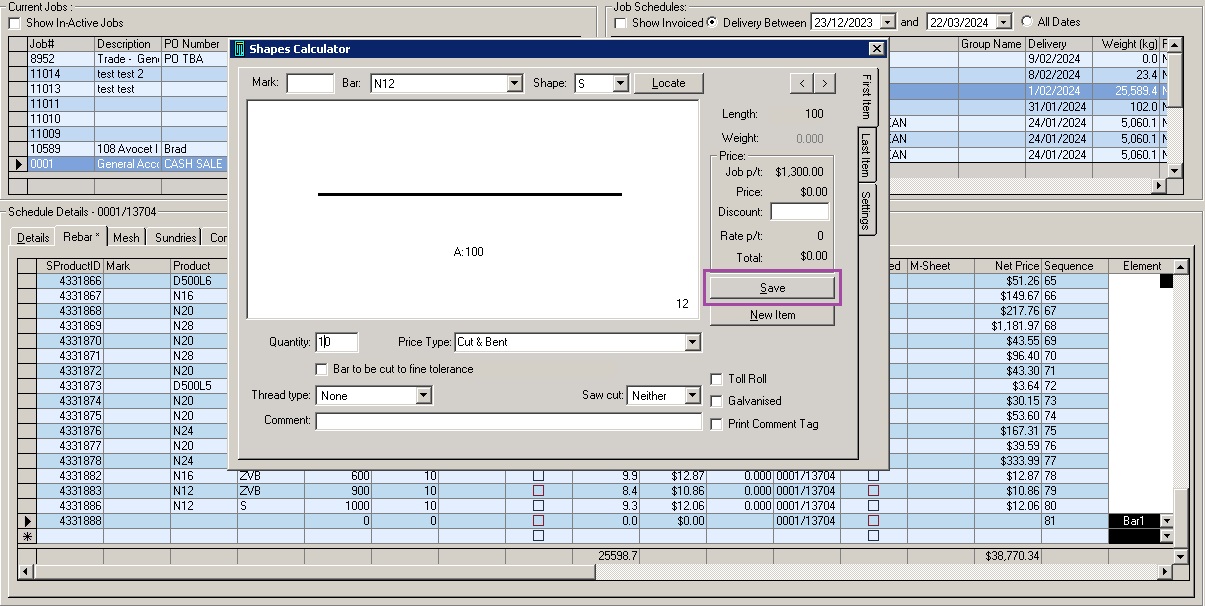
- Select Insert row. The Shapes Calculator window then opens for you to configure the rebar item details. Once done, click on Save.
The new item gets added to the schedule.
-
To add an item to an element, select any of the rows belonging to the element to which you want it added, right-click and select Insert, then Insert row to element.
The Shapes Calculator window then opens for you to configure the rebar item details. Once done, click on Save.
-
Click on the Element column header. The newly-added item should be listed with the other items belonging to said element.
- Select and then right-click on the row in which to insert an item.
-
Deleting an item/items
- Select the row to delete. Right-click, choose Delete, then Delete selected items.
To delete multiple rows, select contiguous rows by pressing and holding the Shift key, and clicking on the first and last row of the range of items to delete.
To select different rows, press and hold the Ctrl key while clicking on the rows to delete.
The item will then be deleted from the schedule.
- To delete an element, select any of the rows on an element. Right-click, choose Delete, then Delete selected elements.
PLEASE NOTE: With this option, ALL items belonging to the selected element will be deleted.
- To restore an item or items belonging to an element that has been deleted by mistake, or to view all of the items related to this schedule that have been deleted, right-click anywhere on the schedule details, then choose View deleted items.
All the deleted items will be displayed.
- Select the item(s) to restore, then click on Restore.
Click on OK.
PLEASE NOTE: Deleted items that used to belong to an element will be restored as stand-alone items. They will have to be added to an element again if needed.
- Select the row to delete. Right-click, choose Delete, then Delete selected items.


Ronil Cabudoc
Comments