Background
This knowledge base article will assist Schedulers in efficiently assigning colours to construction elements on schedules and individual bar items.
Before you begin
- Ensure you are logged into the Elda (Chrome) Scheduler application. See our article Getting Started with Scheduler for more.
- Default colours and elements in Quick Elements
- Purple: Sundry Steel: Shear Punch, Bursting Steel, Dummy Bars
- Blue: Bottom Steel (Suspended)
- Orange: Top Steel (suspended)
- Green: Columns
- Red: Walls, Block walls, RC walls, Core Walls, Retaining Walls
- Yellow: Foundations, Piles, Bored Piers
- Brown: Footings,
- Pink: Lift pits
- Black: Beams
Steps to follow
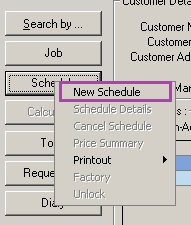
- Open a new Schedule for which you want to group elements.
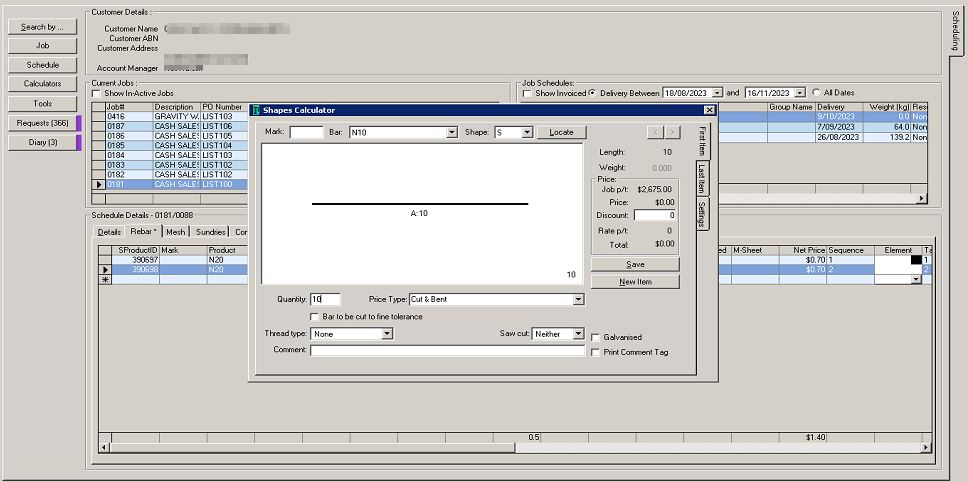
- Add the items to the schedule.
Grouping Items into a New Element
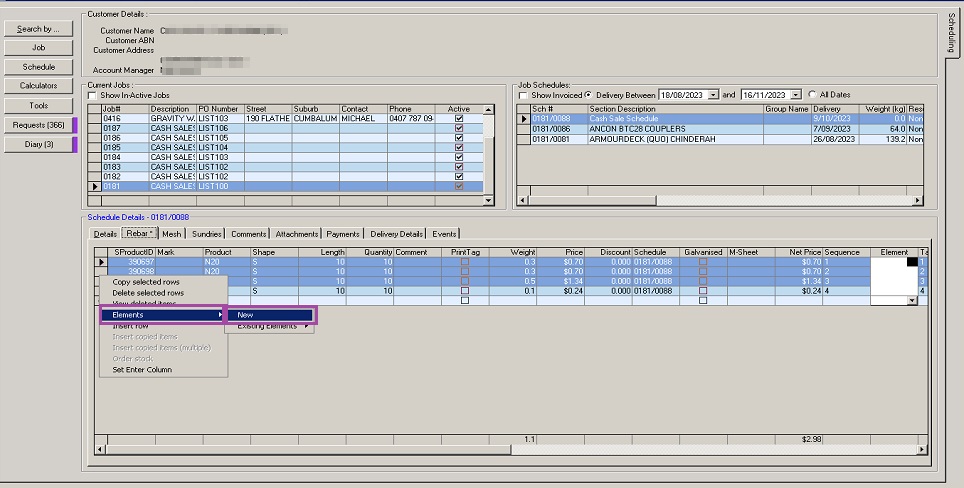
- To select the items to group, click on the row header of the first item, press and hold the Ctrl key, then click on the rows of the other components that are to be included in the group. Once done, right-click, select Elements then New if this is a new element.
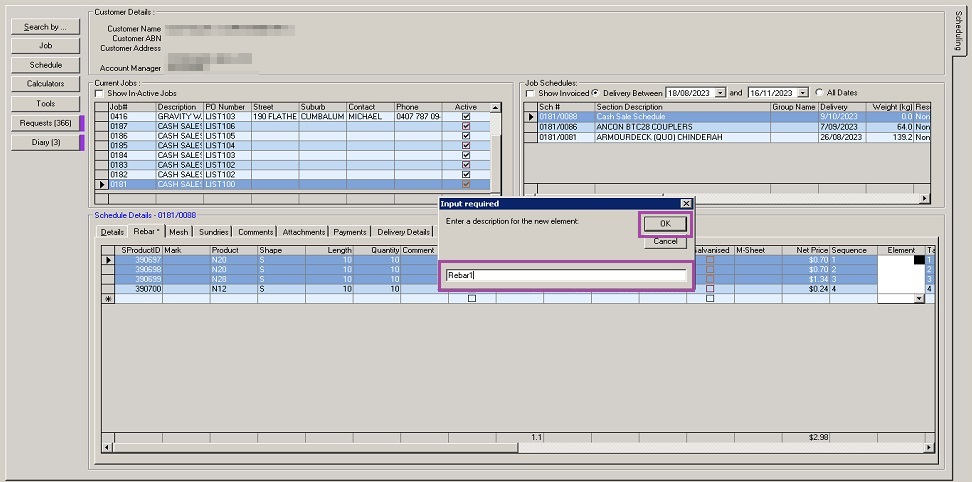
- Provide a name or description for the new element then click on OK.
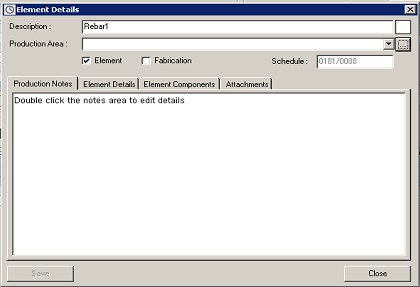
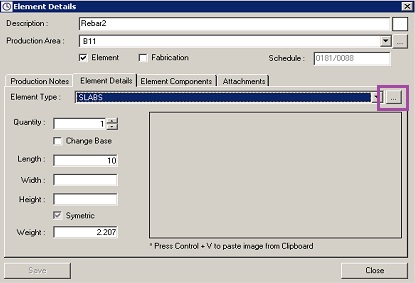
The Element Details window opens.
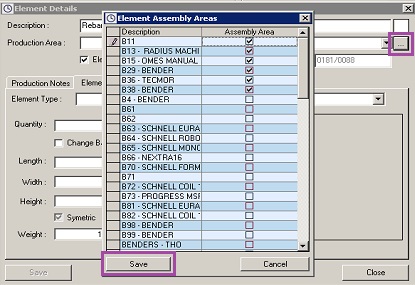
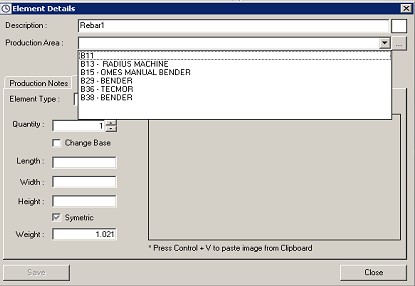
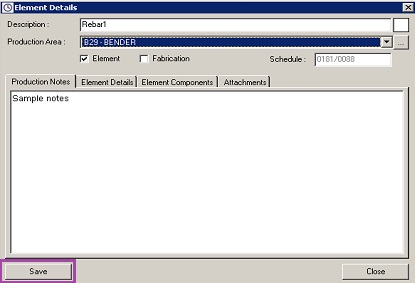
- Under the Element Description is the Production Area field. Click on the box on the right side of the field to open a list of available Assembly Areas. Tick on the boxes next to the Assembly Areas appropriate for the products on the Element then click on Save.
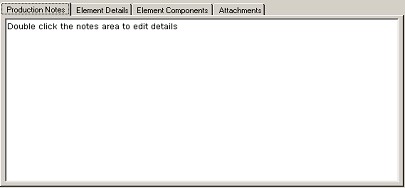
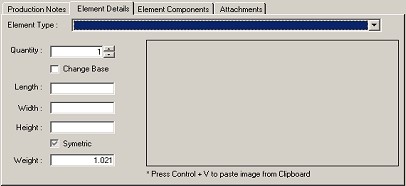
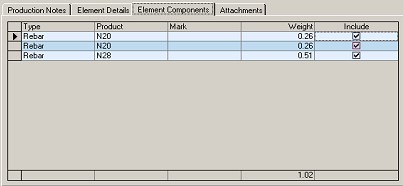
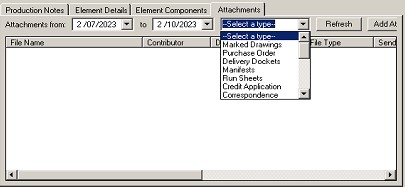
Element Details Tabs Description Production Notes Element Details Element Components Attachments
- The Assembly Areas selected and saved in the previous step would then be available in the drop-down options for the Production Area. Select the appropriate option.
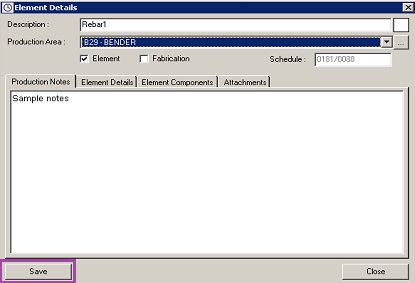
- Ensure to tick the option if this grouping is for Element or Fabrication.
- Once you are done supplying all the necessary details, click on Save.
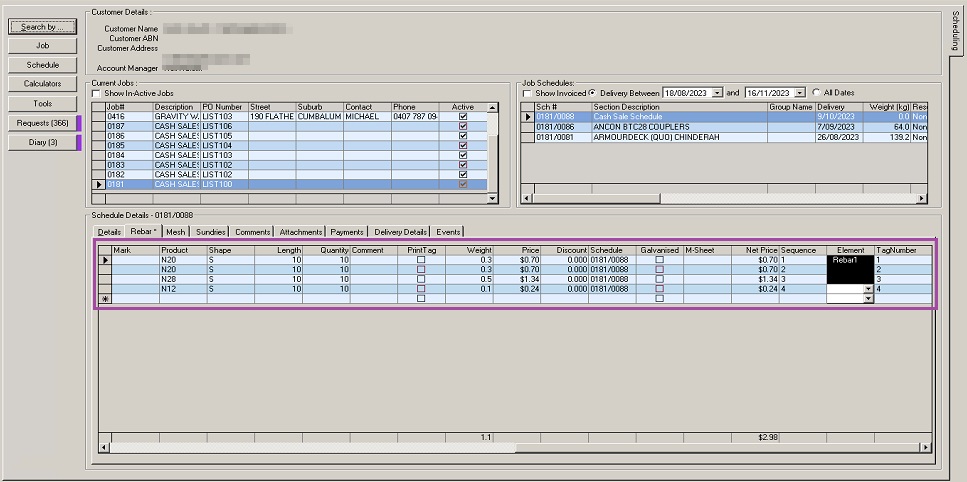
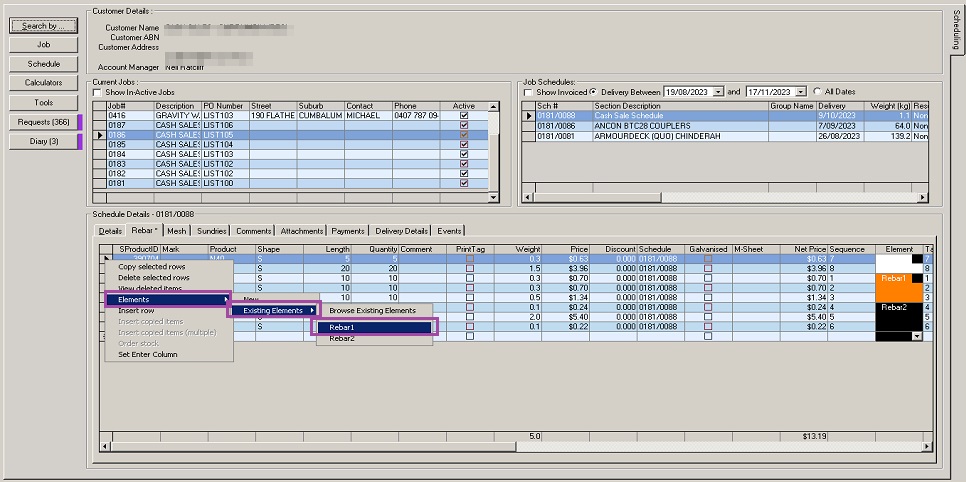
All the selected rows are now grouped together under the Element named Rebar1, in this example.
Editing an Element
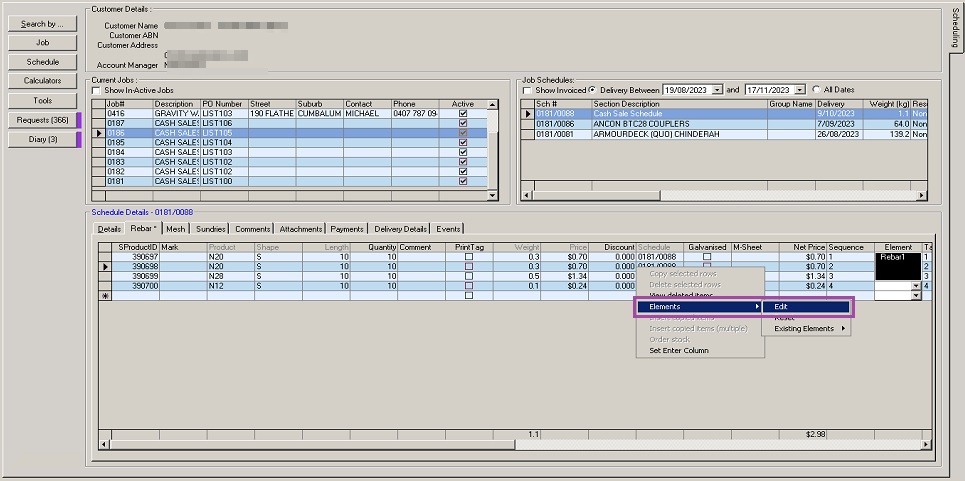
- If for some reason you need to make some changes to a created element, right-click anywhere on the schedule details area, choose Elements then select Edit.
- The Element Details window opens. Make the changes then click on Save; otherwise, click on Close.
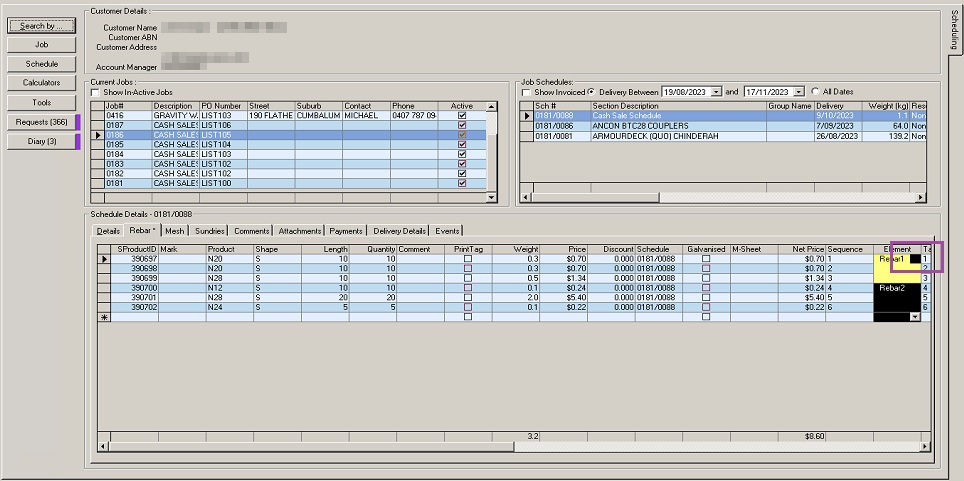
- Alternatively, click on the arrow on the element you want to edit to bring up the Element Details window.
Changing the Colour of Elements
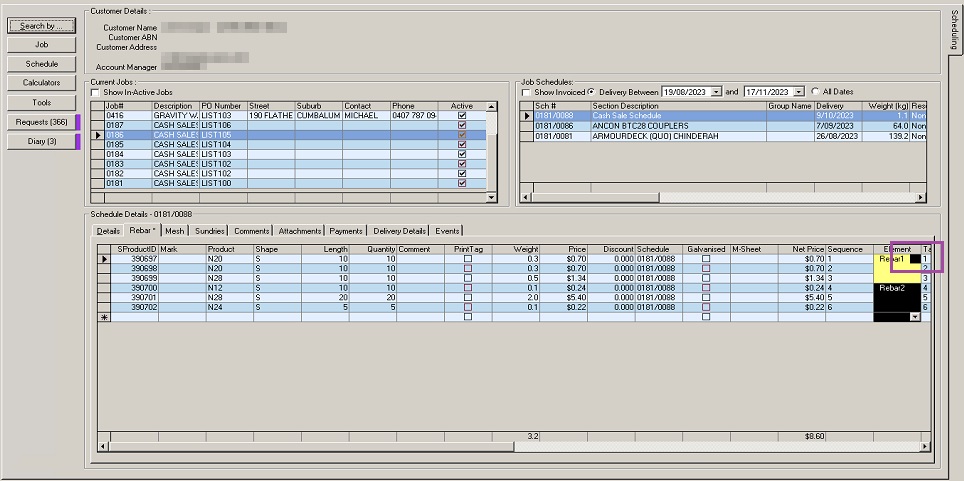
- If no colour is selected at the time an element is created, it is set to black by default. To change the colour, click on the arrow on the selected Element to bring up the Element Details window.
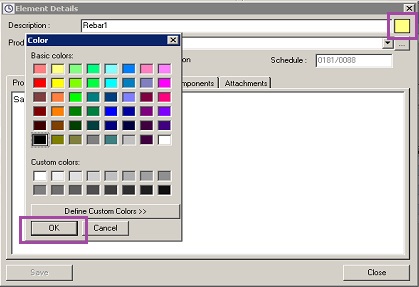
- Double-click on the box next to the Description field to bring up the Color window. Choose the color you prefer then click on OK.
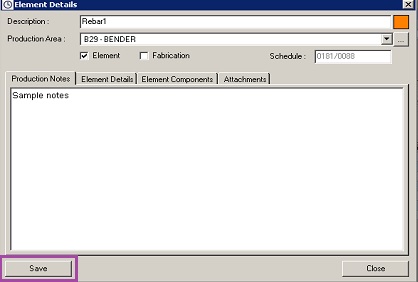
- Click on Save to apply the color chosen then Close.
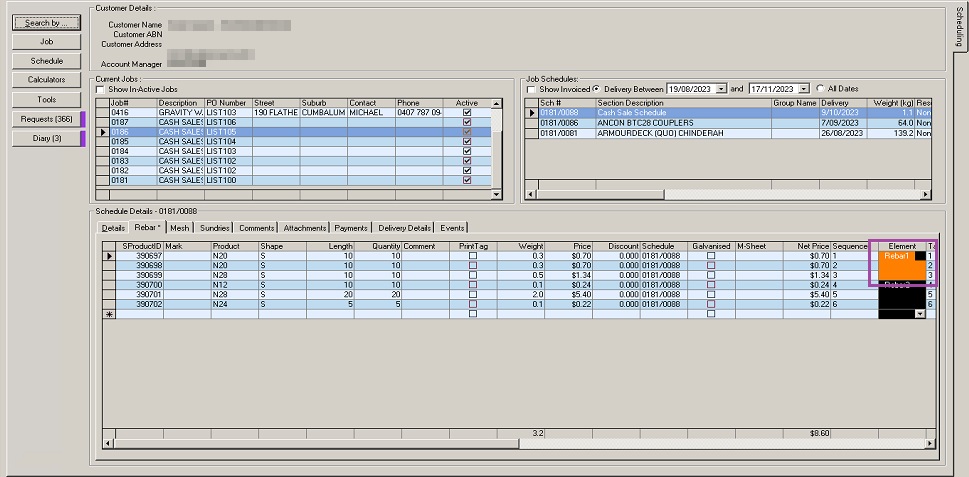
The color of the element is changed.
Adding items to an Element
As you can continue adding products to a schedule, you can likewise add these newly-added items to an existing Element.
- To add a new item to an existing Element, click on the row of the new item, right-click, choose Elements, Existing Elements, then select the Element to add it to.
- A dialog box pops up. Check that you are adding the item to the correct Element. Click on Yes to confirm.
Managing Element Types
To quickly access Elements, without having to configure each time they are used, you can set the Element Types by accessing the Manage Element Types screen.
PLEASE NOTE: This requires a certain permission to be enabled. Contact the Helpdesk if you require access to this feature.
- Click on the box next to the Element Type field.
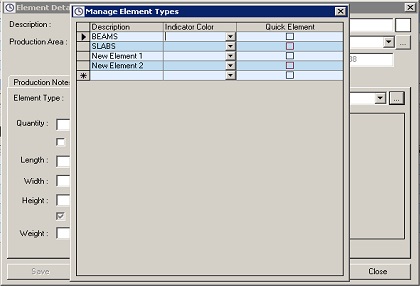
The Manage Element Types window opens.
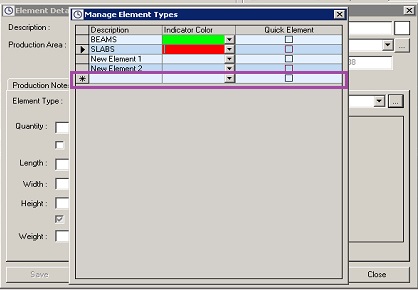
- To add a new Element Type, click on the blank space under the Description field in the last row of the grid. When you type something, the field will be automatically filled in with New Element Type text. Replace the text as needed.
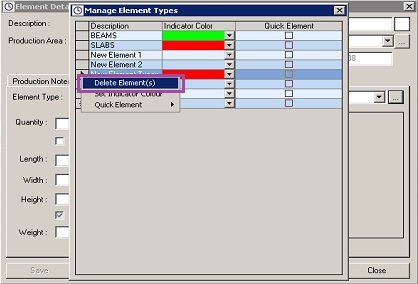
- To delete an Element Type, right-click on the row to delete then select Delete Element(s).
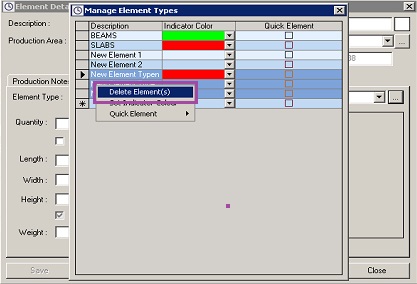
To delete multiple Element Types, click on the first row to delete, press and hold the Ctrl key, then click on each of the other rows to delete. Right-click and select Delete Element(s).
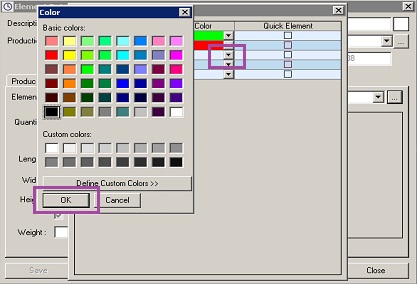
- To assign a particular color to an Element type, you may either (1) click on the arrow under the Indicator Color column on the same row as the Element Type you want to assign a color to bring up the color selection screen,
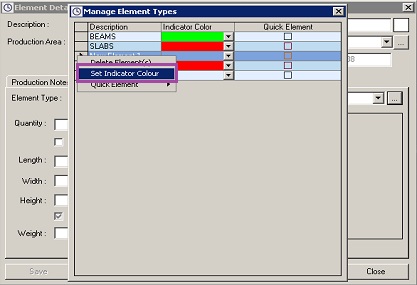
or, right-click on the row to update then select Set Indicator Color. This will bring up the color selection screen as well.
Choose the indicator color you prefer then click on OK.
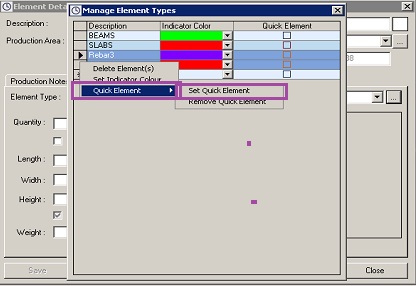
- To designate as Quick Element, select the row(s) of Elements, right-click then choose Quick Element > Set Quick Element.
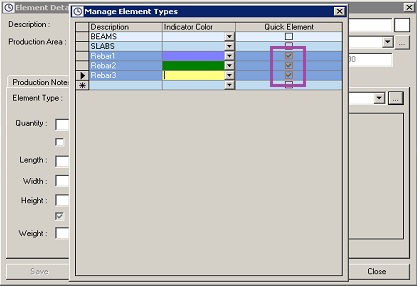
The Elements that have been set as Quick Element would have a checkmark next to them.
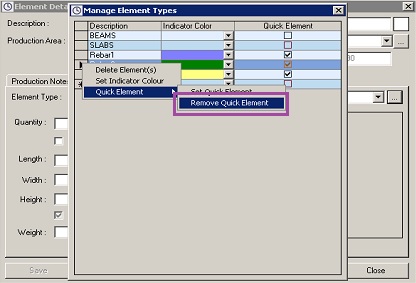
To remove Quick Element, follow the same steps as above but choose Remove Quick Element. The Element should then be unchecked.
Using Quick Elements
- Select the items to group, right-click then choose Elements. Click on Quick Elements and choose the Quick Element you would like to set for this group of items. The attributes of the chosen Quick Element such as Element type, indicator color, etc. should then apply and would be pre-filled. The Element Details form also no longer opens.



Ronil Cabudoc
Comments