Before you begin
- It is highly recommended you have a DHCP reservation for the BitConnect device
- Have on hand the serial communications settings required by the factory machine
- Have an antenna connected to the BitConnect device
- Have a power supply connected to the BitConnect device
- The device must be in a factory default state. See Reset a BitConnect device.
- Pick a device you wish to use for the configuration. It is suggested to use a mobile device so as not to remove your primary workstation from the business network.
- The BitConnect device will prompt you to reboot after every change in settings. It is not necessary to reboot after every change and a reboot can be left until all settings have been set.
Steps to take
- Power on the BitConnect device
The BitConnect device should indicate power is applied and begin to boot
- After a short while, the BitConnect device should begin advertising a Wi-Fi network.
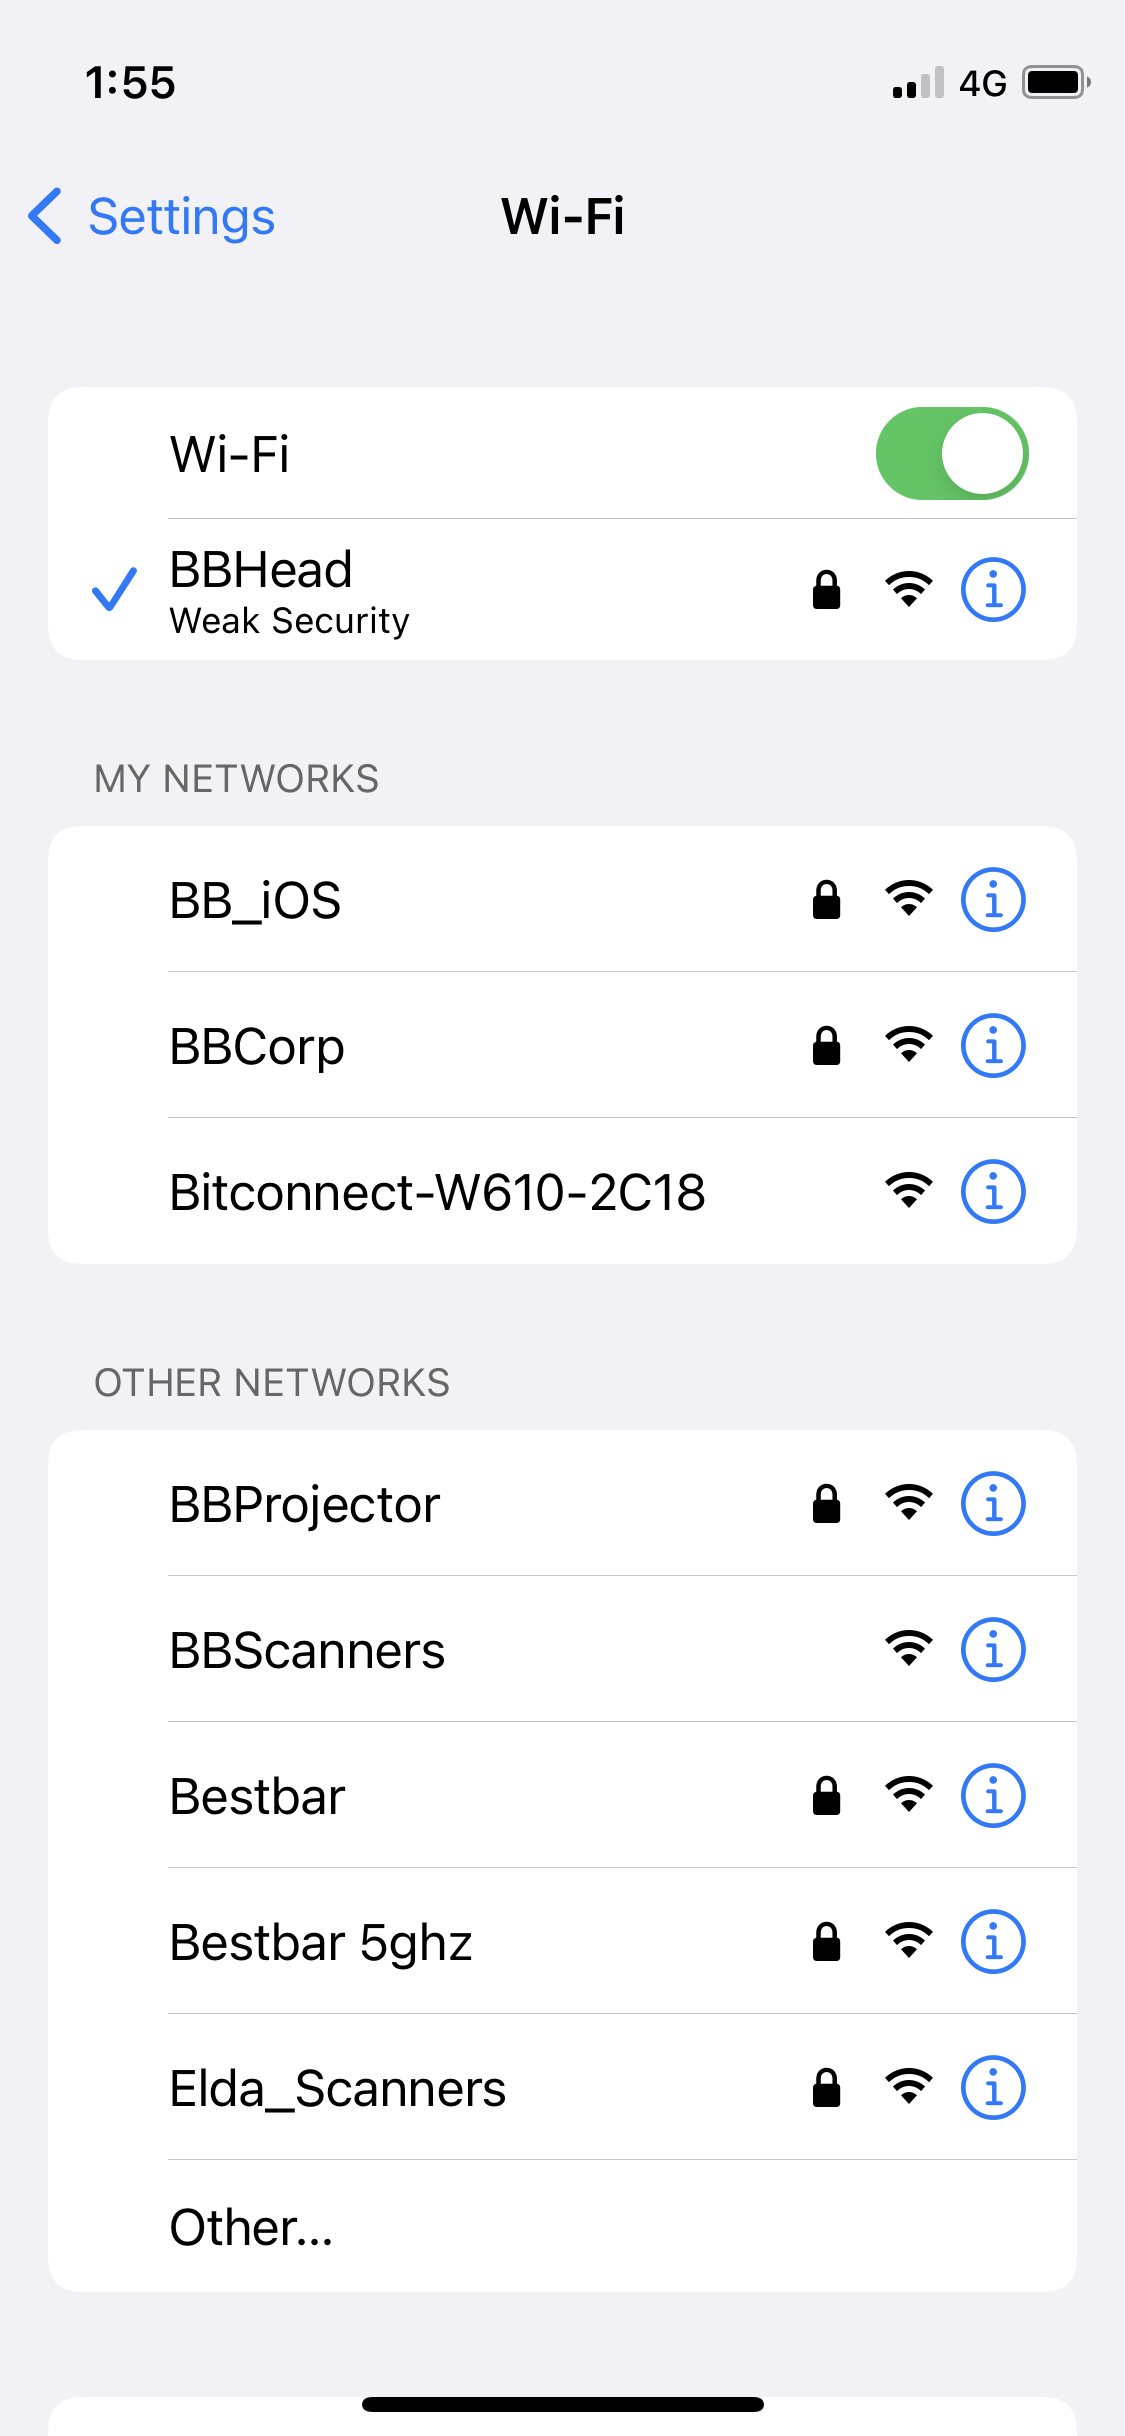
For example, this BitConnect device is advertising Wi-Fi network Bitconnect-W610-2C18
- Join the Wi-Fi network advertised by the BitConnect device
Your device will be issued an IP address by the BitConnect device but importantly, the BitDevice can be found at IP address 10.10.100.254
- Open a web browser on your device
- Enter 10.10.100.254 into the navigation bar go
Note: This is the IP address of the BitConnect device to which your device is connected
Your browser should prompt to log in to 10.10.100.254
- Enter admin for Username, enter admin for Password, and tap Log In
- You should land on the Quick Configure page of the BitConnect device
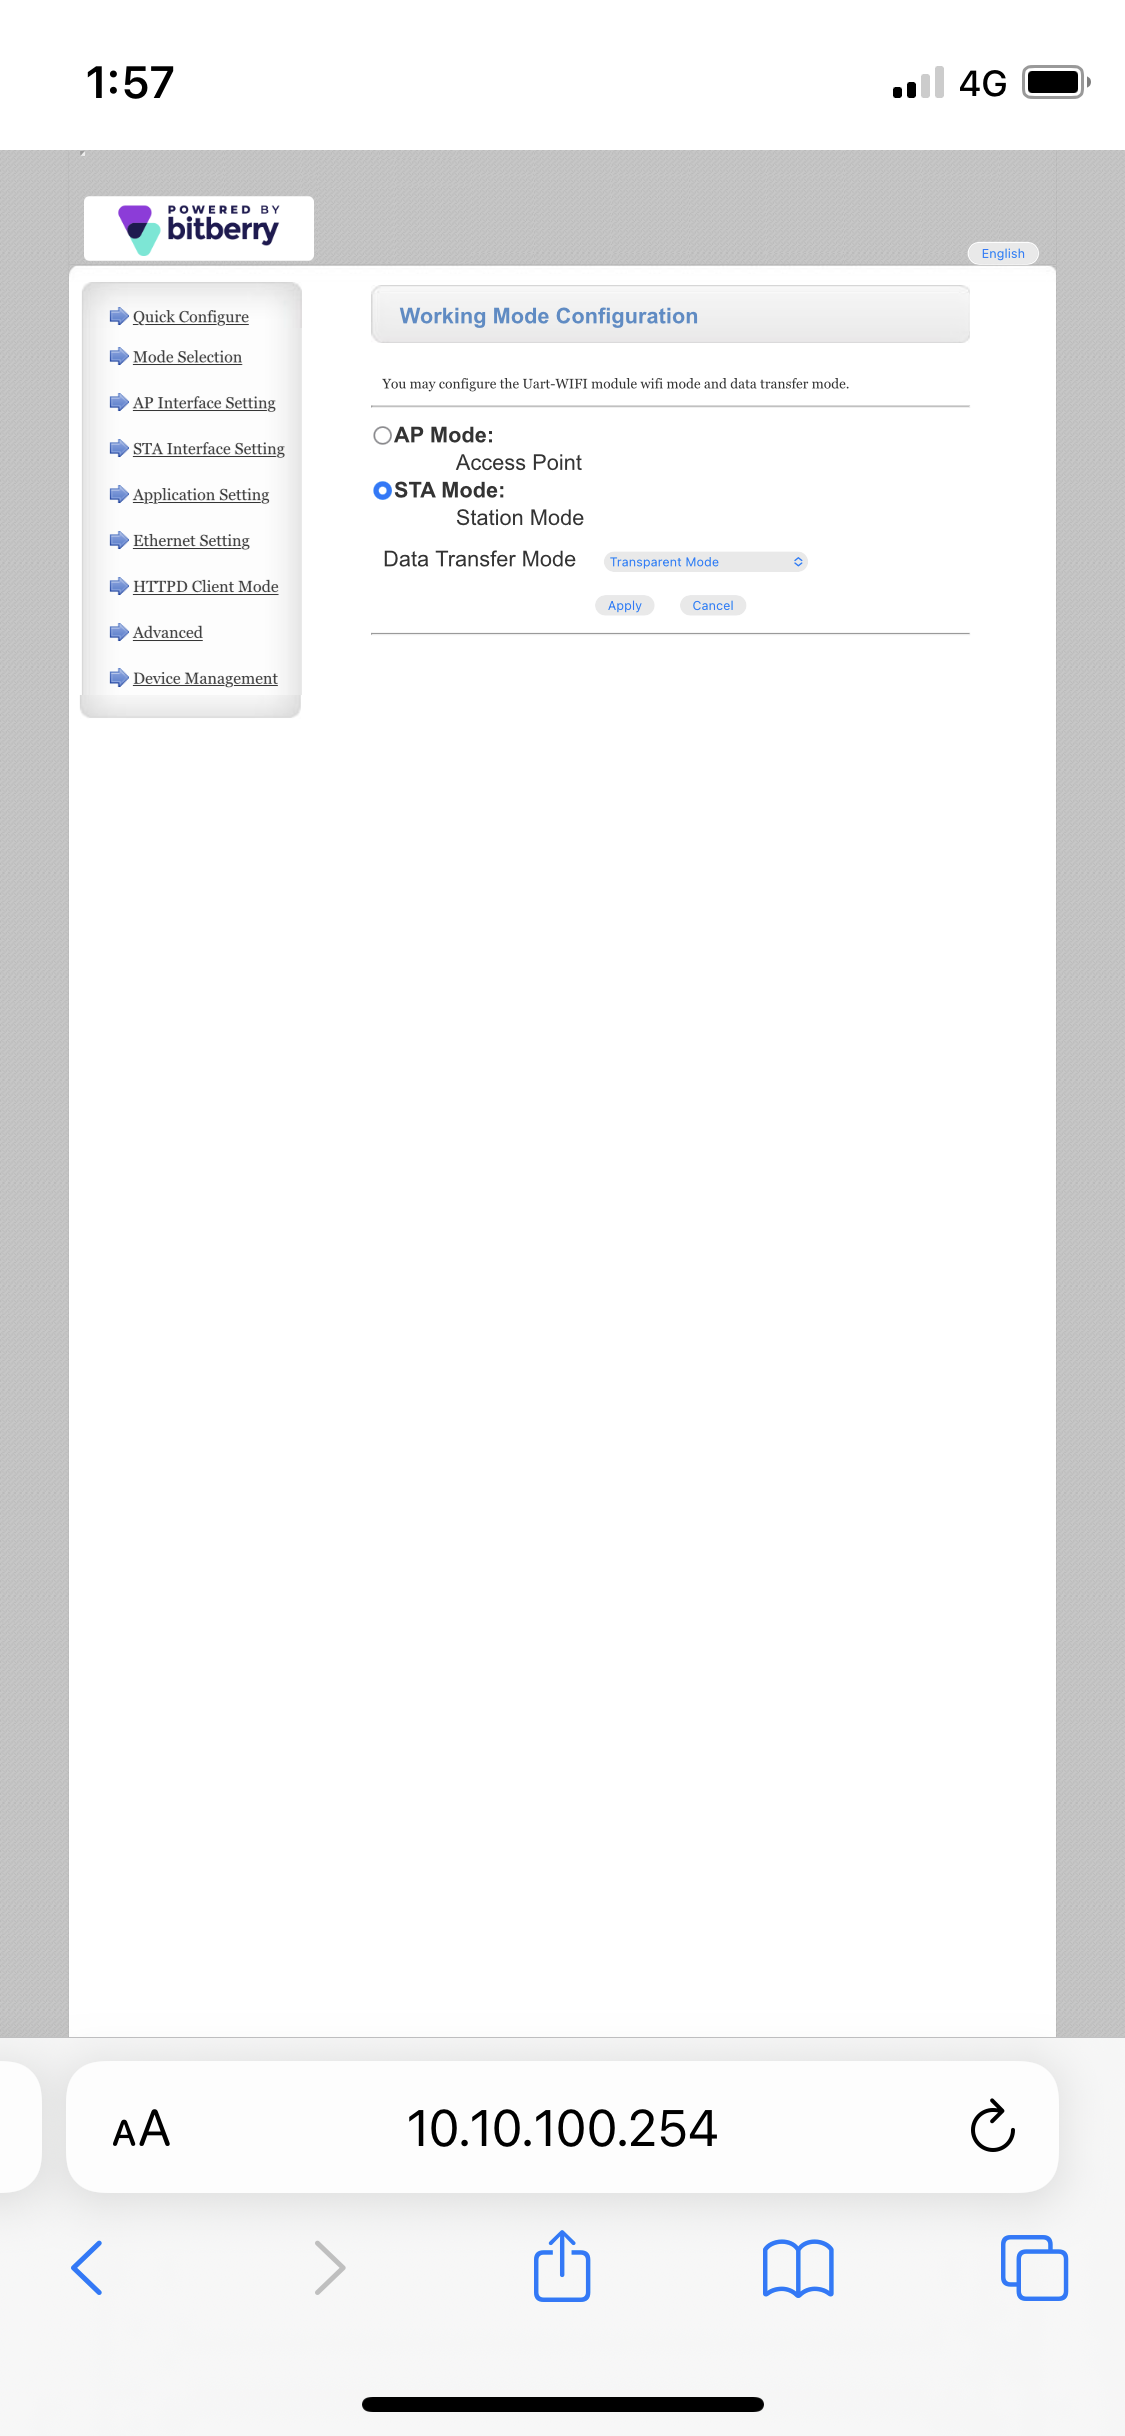
- Tap on Mode Selection
- Select STA Mode and
This sets the BitConnect device to operate in station mode (a device on a Wi-Fi network) instead of access point mode (advertising a Wi-Fi network)
- Tap on STA Interface Setting
- Tap Search
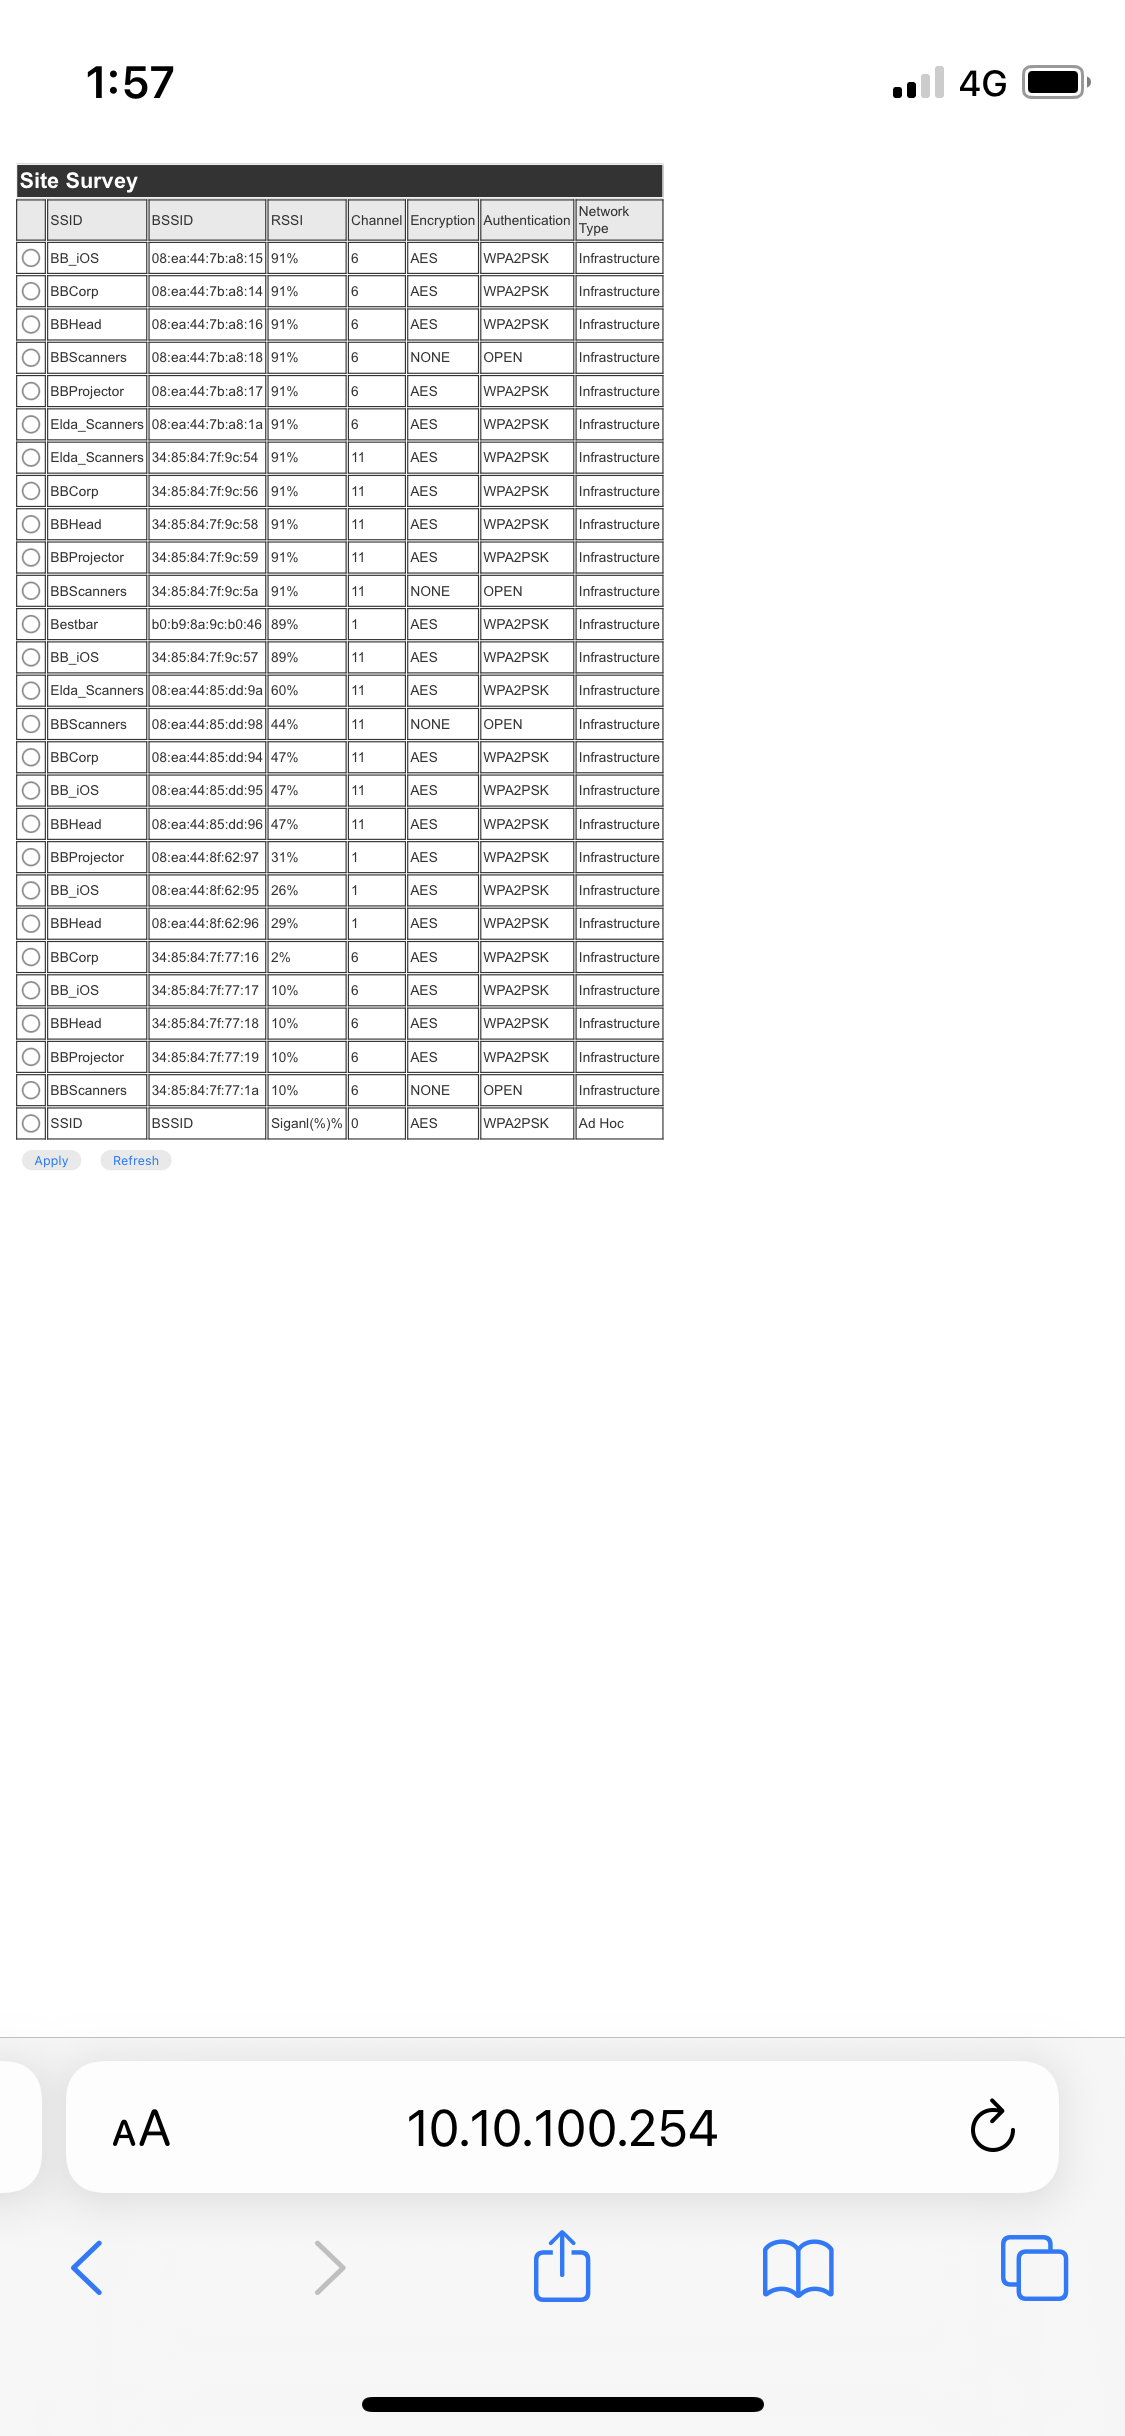
Your browser will open a new tab for the BitConnect device Site Survey
The BitConnect device will scan for nearby Wi-Fi networks and display a list of found networks
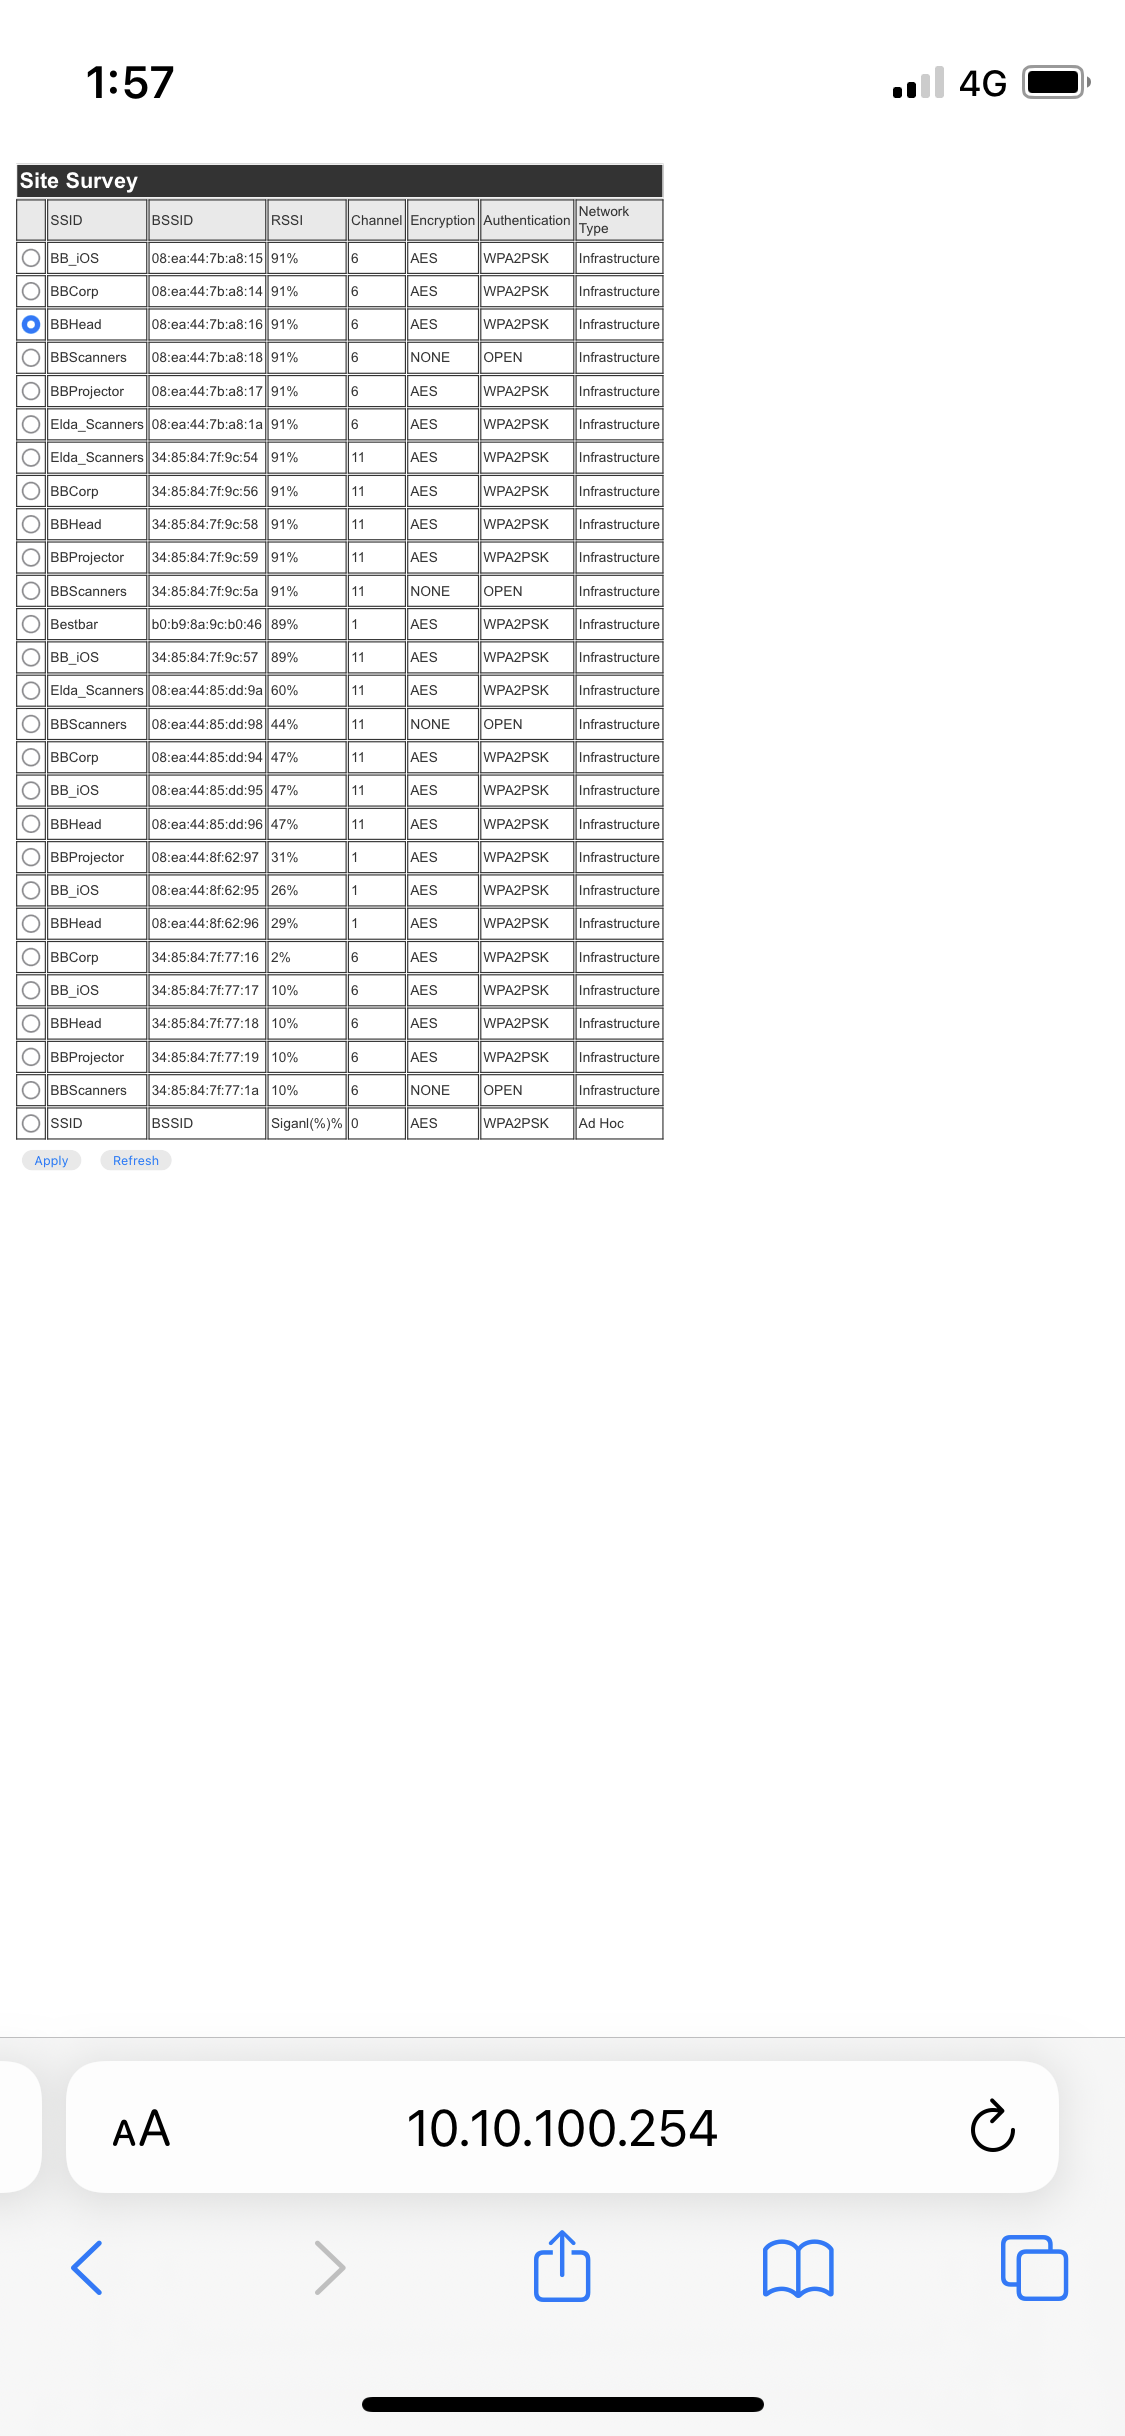
- Check the radio button beside the Wi-Fi network you wish to join and tap Apply
Your browser will close the Site Survey tab, returning to the configuration tab
- Update the STA Inferface Parameters as required for selected network and tap Apply
Note: Selecting a Wi-Network above typically sets Security Mode and Encryption Type for the selected network but it is worth confirming the settings
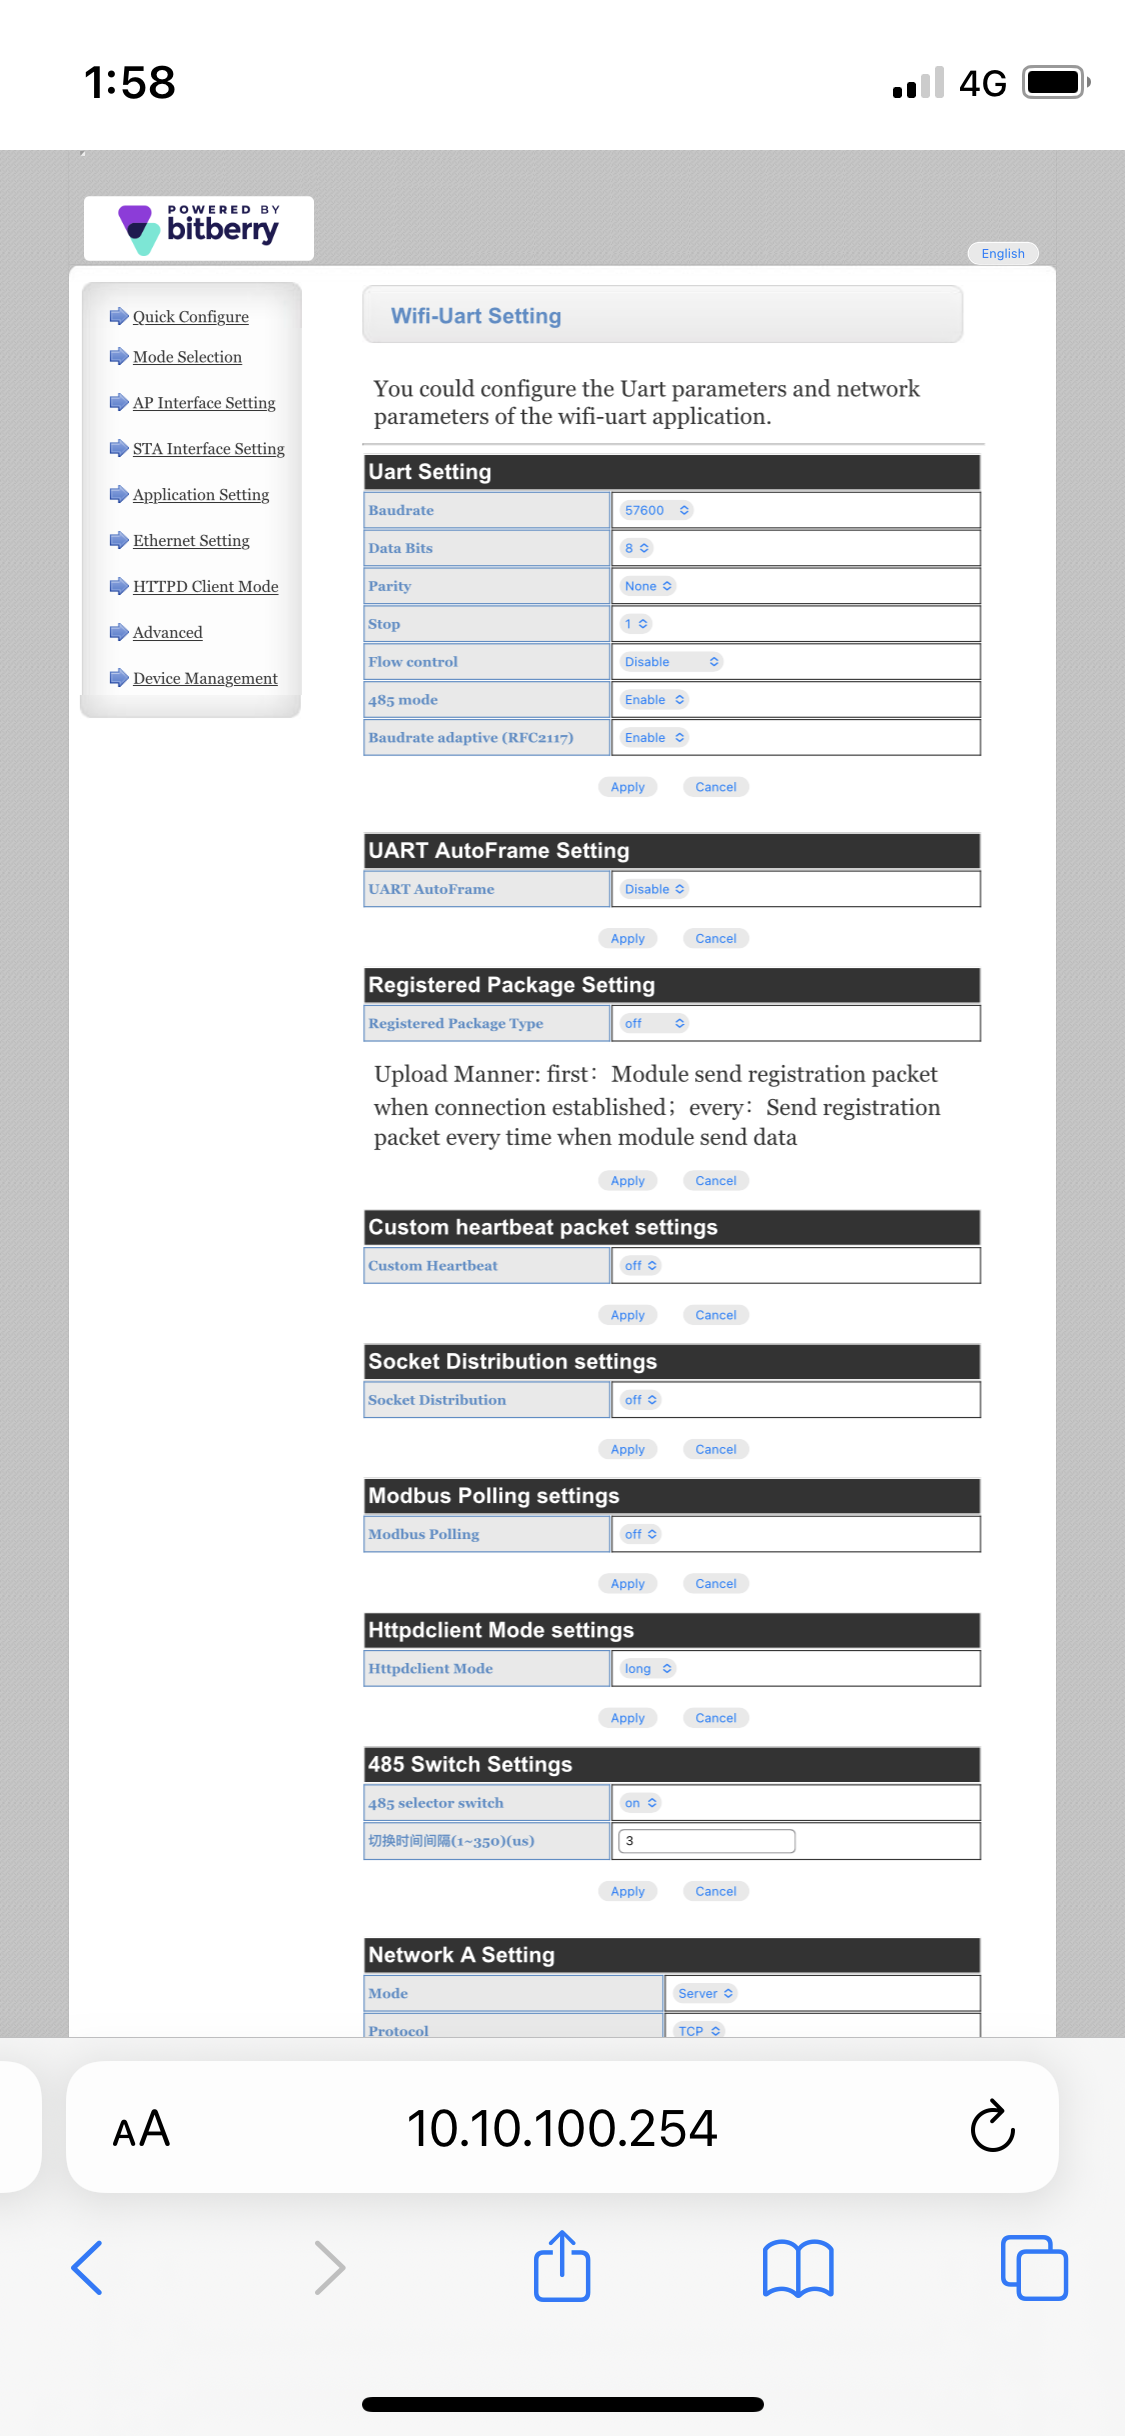
- Tap Application Settings
- Update the Uart Settings as required for the factory machine to which the BitConnect device will connect and tap Apply
- Tap Device Management
- Tap Restart
The BitConnect device should restart. All but the the power (PWR) lights should go out.
The BitConnect device should begin to boot using the newly configured settings.
If the BitConnect device it is able to join the configured network
- The link (LKN) light should light
- The BitConnect device should no longer be advertising a Wi-Fi network
- The BitConnect device should be found in the DHCP tables in the DHCP server or router associated with the network to which it is connected
-
If the BitConnect device does not appear able to join the configured network, reset it and start these configuration steps again. See Reset a BitConnect device.
Where to from here
-
If the BitConnect device does not appear able to join the configured network, reset the BitConnect device and start these configuration steps again. See Reset a BitConnect device.







Warren Hall
Comments